Master the Zoom Video Webinar platform with our step-by-step guide. Learn key differences from meetings, setup, engagement tactics, and content repurposing.
A Complete Guide to Your First Zoom Video Webinar
So, what exactly is a Zoom Video Webinar? At its heart, it’s a tool for broadcasting to a large audience, where just a handful of people do the talking. Think of it like a virtual auditorium: you have speakers on stage and an audience that’s there to watch, listen, and learn.
Understanding the Zoom Video Webinar
Imagine you’re about to unveil a new product or deliver a major university lecture. You need a space where you can present without constant interruptions, handle questions in an orderly way, and keep everything looking professional. That's the sweet spot for a Zoom Video Webinar. It’s not a chaotic, collaborative free-for-all; it’s a controlled environment designed for making a real impact.
The whole point is to create a clear line between the people presenting and the people watching. In a regular meeting, anyone can chime in, turn on their camera, and share their mic. A webinar, on the other hand, creates a virtual stage. This setup is perfect for events where you need to manage audience interaction, not just let it run wild.
Key Characteristics of a Webinar
The way a Zoom Video Webinar is designed makes it a great fit for a few specific situations. It's built for:
- Large-Scale Events: You can easily broadcast to hundreds or even thousands of people without the session descending into chaos.
- Focused Presentations: It keeps the audience’s attention locked on the panelists and what they’re sharing, cutting out potential distractions.
- Professional Broadcasting: Perfect for delivering polished town halls, marketing presentations, and educational lectures with features that help you look good.
- Controlled Interaction: Instead of a free-for-all in the chat, you can manage audience participation with dedicated tools like a Q&A panel and polls.
This "one-to-many" style of communication became a lifeline when businesses everywhere went remote. Zoom's growth was staggering—after having only 10 million daily users in December 2019, that number exploded to 300 million daily meeting participants by April 2020. This shift cemented video as a core business tool. For anyone creating content, this boom also created a new problem: how to manage all that video? This is where tools like AI transcription and captioning became crucial for making content accessible, searchable, and easy to repurpose. You can learn more about Zoom's growth statistics and how they shaped digital communication.
A Zoom Video Webinar is best understood as a digital auditorium. The speakers are on stage under the spotlight, and the audience is in their seats—able to listen, watch, and ask questions through moderated channels, but not jump on stage themselves.
This structure guarantees your message comes across clearly and professionally. If you’re planning a company-wide announcement or a customer training session, understanding this fundamental difference solves the problem of choosing the right tool for the job.
Choosing Between a Webinar and a Meeting
It’s easy to use the terms ‘meeting’ and ‘webinar’ interchangeably, but in the world of Zoom, they are built for entirely different purposes. Figuring out whether you need a Zoom Video Webinar or a standard Zoom Meeting isn’t just about features; it’s about choosing the right environment to solve your communication goals.
Think of it like this: a meeting is a roundtable discussion. Everyone is there to contribute, share ideas, and work together. A webinar, on the other hand, is more like a lecture in an auditorium. You have speakers on a stage and an audience there to listen and learn. Picking the wrong format can lead to common productivity problems, like a chaotic free-for-all when you need control, or a stiff, one-way presentation when you actually want a lively discussion.
Getting this right from the start makes all the difference. This simple flowchart can help you solve this problem in a flash.

As you can see, the choice really boils down to how big your audience is and whether you need a controlled presentation or an open, productive conversation.
Key Differences in Purpose and Control
The biggest split between the two comes down to control and interaction. A Zoom Meeting is designed from the ground up for collaboration. Everyone can turn on their camera, unmute their mic, and share their screen. It's a democratic space, perfect for team huddles, brainstorming sessions, or training workshops where back-and-forth is essential. Even with all that freedom, a good plan is crucial for productivity—using a solid meeting agenda template helps keep these collaborative sessions on track.
A Zoom Video Webinar, however, is all about presentation. It creates very clear roles: you have hosts, panelists, and attendees. Only the hosts and their chosen panelists can share audio, video, or their screens. Your audience members are in listen-only mode, and their interaction is channeled through managed features like a Q&A box, polls, and a moderated chat.
A Zoom Meeting is a conversation. A Zoom Video Webinar is a broadcast. Pick the first for productivity and collaboration, and the second for presentation and scale.
This level of control is exactly what you need for large-scale events like company-wide town halls or product launches, where keeping the focus on the message is non-negotiable.
Webinar vs Meeting at a Glance
To make it even clearer, let's put them side-by-side. This table breaks down the core differences so you can quickly solve the problem of which tool fits your needs.
| Feature | Zoom Video Webinar | Zoom Meeting |
|---|---|---|
| Primary Use Case | Broadcasting to a large, view-only audience (e.g., town halls, product launches). | Collaborative sessions with a smaller group (e.g., team syncs, workshops). |
| Participant Roles | Host, Co-hosts, Panellists (can speak), and Attendees (view-only). | Host, Co-hosts, and Participants (all can potentially speak and share video). |
| Audience Interaction | Structured via Q&A, polls, and moderated chat. Attendees cannot unmute themselves. | Open discussion via audio, video, and unmoderated chat. All participants can unmute. |
| Audience Capacity | Scales from 500 up to 50,000 attendees with the appropriate licence. | Typically capped at 100, 300, 500, or 1,000 participants depending on the plan. |
| Video & Audio | Only hosts and panellists can share their video and audio. Attendee cameras are off. | All participants can share video and audio, fostering face-to-face interaction. |
Ultimately, understanding this distinction helps you tap into the power of a platform that dominates the market. With Zoom holding a 55% market share, your choice of format directly impacts your ability to engage this massive audience effectively. The right tool ensures your message lands exactly as you intended, solving a major communication challenge.
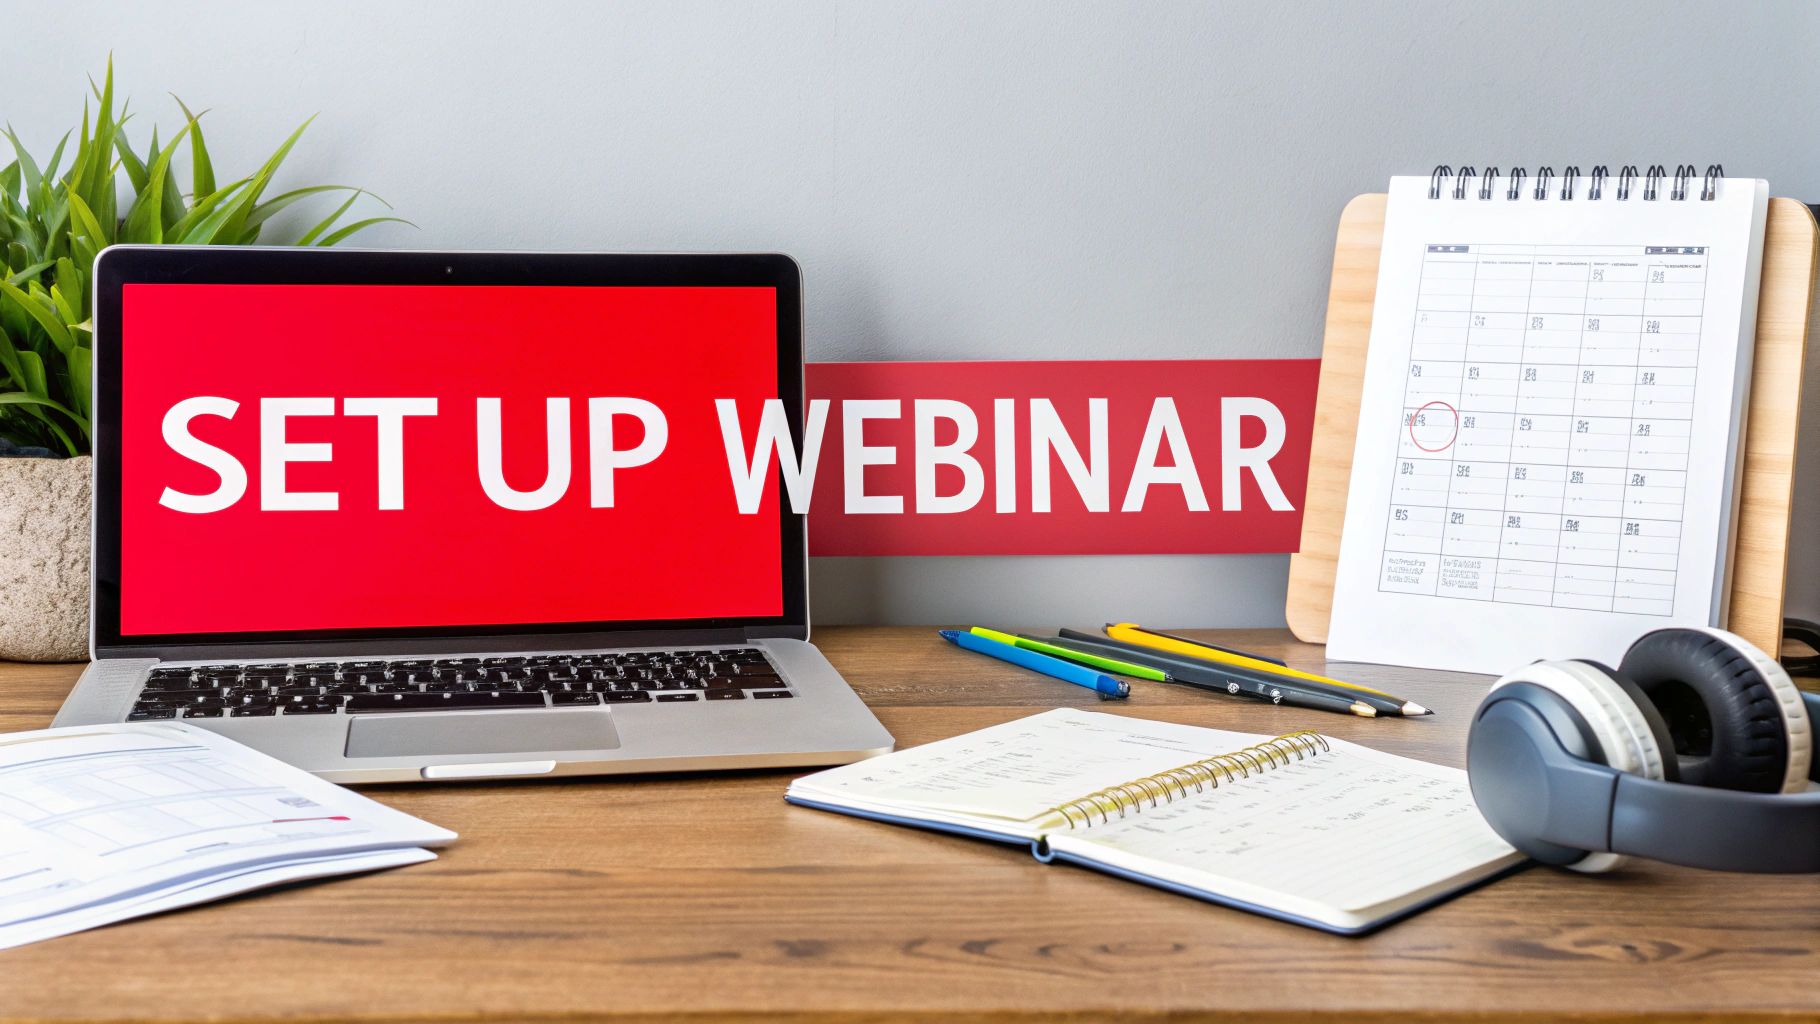
How to Set Up Your First Zoom Webinar
Ready to host your first Zoom Video Webinar? This guide solves the problem of going from a great idea to a live event. We'll break down the entire workflow for you, step by step, so you can host a polished and professional broadcast that boosts your productivity and avoids common pitfalls.
We'll cover everything from scheduling your event and customising the registration to prepping your speakers. Think of this as your pre-flight checklist for a flawless launch.
Step 1: Scheduling and Basic Configuration
Your journey starts right inside your Zoom account dashboard. This is where you'll schedule the webinar, give it a compelling title, and write a clear description that tells people exactly what problem you'll solve for them.
This is also where you lay the groundwork for the event itself. You'll set the date, time, and duration, of course, but more importantly, you’ll configure the core security settings.
Here are the key settings to nail down at this stage:
- Registration: Decide if you want people to register. For most marketing or lead-generation webinars, this is a must-have for collecting attendee info.
- Authentication: You can require attendees to be logged into a Zoom account. It's a simple way to help prevent unwanted guests from joining.
- Passcode: Adding a passcode provides another layer of security, ensuring only people with the right code can get in.
Getting these initial choices right really shapes the entire attendee experience, so it pays to spend a few extra minutes here.
Step 2: Customising Registration and Inviting Panellists
With the basics scheduled, it's time to create a professional and welcoming front door for your audience. Zoom lets you build a custom registration page, which is a brilliant opportunity to showcase your brand and gather useful information.
You can add your company logo, speaker bios, and a detailed agenda. But don't just stick to the standard name and email fields! Add custom questions to understand your audience before the event even starts. You could ask about their industry, their job role, or what problems they’re hoping to solve with your session.
Once the registration page looks good, it’s time to assemble your on-air talent. You'll invite panelists by sending them a unique join link—this is different from the one attendees get. This special link gives them the power to share their video, audio, and screen during the live webinar.
Your registration page is the digital front door to your event. A well-designed page not only captures leads but also builds anticipation and sets a professional tone from the very first interaction.
Step 3: Configuring Interactive Features
A great webinar is an interactive one. Before you go live, you need to decide which engagement tools you’ll use to turn your audience from passive viewers into active participants. This solves the problem of low audience engagement.
Inside the webinar settings, you can enable and prep a few key features:
- Q&A: This is your most important tool for engagement. Unlike a messy chat box, the Q&A panel keeps audience questions organised so your panelists can answer them live or in writing.
- Polls: Set up your poll questions ahead of time. Polls are perfect for checking what your audience already knows, gathering opinions, or just grabbing everyone’s attention again.
- Chat: Decide how you want the chat to work. You can let attendees chat with everyone, only with hosts and panelists, or turn it off completely to keep the focus on the Q&A.
Getting these tools configured beforehand means you can launch them smoothly during the live event without fumbling through menus. To take things even further, you might want to explore some Medial Zoom Integration options, which can help you solve the problem of managing and storing your recordings securely.
Step 4: The All-Important Practice Session
Finally, we arrive at the one step that so many people skip, but it’s arguably the most important: running a practice session. This solves the problem of technical glitches during the live event.
During this session, you absolutely should:
- Test Audio and Video: Make sure every panelist’s microphone and camera are working perfectly. No one wants to hear "Can you hear me now?".
- Practice Screen Sharing: Have each presenter share their slides to catch any technical glitches or formatting issues.
- Review the Flow: Run through the presentation order and practice the hand-offs between speakers.
- Familiarise with Tools: Actually launch a poll and walk through how you'll manage the Q&A panel.
A rehearsal builds confidence like nothing else. It helps you iron out any technical or logistical kinks before your audience shows up, and it’s the single best way to ensure your live Zoom Video Webinar runs smoothly from start to finish.
Best Practices for an Engaging Webinar
A great **Zoom Video Webinar** solves a problem for your audience, but how do you keep them engaged? The goal is to turn passive viewers into active participants, making them feel like they're actually part of the experience.The good news is that Zoom gives you a powerful set of tools to do just that. By using features like live polls, Q&A, and the chat function, you can create a genuinely interactive session that keeps your audience hooked from start to finish.
Spark Interaction with Built-In Tools
The quickest way to solve the problem of a disengaged audience is to ask them to do something. A silent audience is an unengaged one, so your first job is to get them clicking, typing, and thinking right along with you.
Try kicking things off with a simple, low-stakes poll. Something like, "Where are you joining us from today?" or "What are you most hoping to learn?". This does two things: it gets attendees involved immediately and gives you valuable, real-time feedback on who’s in the room.
The Q&A feature is another brilliant tool for interaction. Unlike a messy chat stream, it keeps questions organised so your presenters can tackle them without getting sidetracked. Make sure to encourage people to use it right from the start and set aside specific moments to answer their most pressing questions live.
A webinar without interaction is just a video. Use polls to take the pulse of your audience, Q&A to solve their biggest problems, and chat to build a sense of community. These tools are your bridge from a broadcast to a conversation.
Master Your Timing and Pacing
Beyond the tools themselves, the very structure and timing of your webinar play a huge role in keeping people's attention. Research on webinar engagement shows some clear patterns. For instance, webinars held during standard business hours (roughly 9 AM to 5 PM) get much higher response rates.
The length matters, too. Interestingly, 90-minute webinars often see a 72% attendance rate, which is way higher than the 43% for 30-minute sessions. This suggests that audiences really do value in-depth content. It also highlights why making your content accessible is so crucial, as almost half of all views (47%) come from people watching the on-demand recording later.
This is where accessibility becomes a strategic move that solves a real problem. After the event, providing the recording with accurate subtitles ensures your content is available to everyone, including those who are hearing-impaired or non-native speakers. You can solve this with our detailed guide on how to download Youtube subtitles, which can be created directly from your webinar recording.
Craft a Powerful and Clear Call to Action
Every webinar should gently guide the audience towards what they should do next. A strong call to action (CTA) connects your presentation to your actual goals, whether that's getting sign-ups for a newsletter, prompting a resource download, or booking a demo.
Don't save it just for the final slide. Introduce your CTA early and weave it naturally into the presentation. When you do deliver it at the end, make it incredibly clear, compelling, and easy to act on. Use a simple, memorable URL and display it on the screen while you explain why taking that next step is so beneficial.
To ensure your Zoom Video Webinar is both informative and impactful, digging into broader virtual event best practices can seriously level up your strategy. A well-planned CTA is what turns passive interest into real, measurable results.
Get More Mileage: How to Repurpose Your Webinar Content
The curtain might have closed on your live event, but the value of your webinar is far from over. This is where you can solve a major productivity problem: creating more content without more work. Think of your Zoom video webinar recording not as a finished product, but as a rich source of raw material. By cleverly repurposing that recording, you can breathe new life into your content, reach entirely new audiences, and squeeze every last drop of value from your initial effort.

This all begins with the recording itself, which is packed with all the insights and data you shared. The first, most crucial step is to unlock that value by turning your video into text with AI transcription.
First Things First: From Recording to Transcript
After the webinar, you’ll have a video file waiting for you in your Zoom account. This file is your starting point. While the video is perfect for on-demand viewing, its contents are essentially trapped inside. To solve this problem, you need a transcript.
A full transcript is more than just a record of what was said. It makes your content searchable, scannable, and incredibly versatile. It’s the foundation for boosting your productivity—fueling blog posts, social media snippets, and detailed guides.
Converting your webinar recording into a transcript isn't just an administrative task—it's the strategic move that unlocks your content's full potential. It solves the problem of a one-time event by turning it into a lasting resource that can fuel your marketing for months.
Getting a high-quality transcript is easier than you might think. For instance, you could upload your recording to a private platform like Youtube and then use a dedicated service like YoutubeToText to get an accurate text version in minutes. This simple action opens the door to all your other content repurposing efforts.
Mining for Gold: Unlocking Content Ideas with Your Transcript
With a complete transcript in hand, the fun part begins: solving the "what to post" problem. A single one-hour webinar often contains enough material to fill your content calendar for weeks. The trick is to break down the main presentation into smaller, bite-sized pieces for different platforms.
Just think about all the possibilities hidden in that text. You can easily spot key statistics, pull out expert quotes, or highlight actionable tips shared during the session. These little nuggets are perfect for grabbing attention and engaging people everywhere. You can learn more by reading a full guide on how to transcribe video into text and see all the ways it can benefit your content strategy.
Here are a few practical ideas to get you started:
- Write In-Depth Blog Posts: Take a key segment of your webinar and flesh it out. A ten-minute discussion can easily become a comprehensive, 1,500-word article.
- Create Social Media Snippets: Pull out compelling quotes or surprising stats and turn them into eye-catching graphics for LinkedIn, X (formerly Twitter), or Instagram.
- Craft an Email Newsletter: Summarise the webinar's main takeaways for your subscribers, giving them value while driving traffic back to the full recording.
- Build a Downloadable Guide: Bundle the key points, slides, and Q&A answers into a practical PDF that you can offer as a lead magnet to grow your email list.
This approach isn’t just smart; it’s efficient. In fact, data shows that 65% of marketers already repurpose their webinar content, a tactic that solves the problem of limited time and budget while helping them connect with a much larger audience.
Making Your Content Accessible with Captions
Beyond creating new marketing assets, your transcript solves the critical problem of accessibility. Using the text file, you can quickly generate caption files in formats like SRT or VTT.
You can then upload these files alongside your video on platforms like Youtube, Vimeo, or your own website. Adding captions isn’t just a nice-to-have; it serves several critical functions:
- Supports Viewers with Hearing Impairments: It ensures that everyone, regardless of hearing ability, can fully understand your message.
- Helps Non-Native Speakers: Captions make it much easier for people who aren't fluent in the presentation's language to follow along.
- Boosts Comprehension: Many people simply learn and retain information better when they can read and listen at the same time.
- Enables Silent Viewing: It lets people watch your content in noisy environments (like on a train) or in quiet places (like an office) where audio isn't an option.
By adding captions, you’re not just checking an accessibility box—you’re actively improving the experience for every single viewer. This simple step ensures the valuable information from your Zoom video webinar reaches the widest possible audience, making your efforts more impactful long after the live event has ended.
Got Questions About Zoom Webinars? We've Got Answers
So, you've got the basics of setting up and running a Zoom video webinar down. But as anyone who's ever hosted a live event knows, the devil is often in the details. This is where those niggling "what if" and "how do I" questions tend to pop up.
This section solves those common problems. We've gathered the most frequent questions we hear from hosts and laid out clear, simple answers to help you navigate any challenge with confidence.
What’s the Real Attendee Limit for a Zoom Webinar?
This is a big one, and the answer depends entirely on your Zoom license. Your standard webinar add-on usually starts at 500 attendees, but you can go way, way bigger if you need to.
Zoom offers tiers that let you host 1,000, 3,000, 5,000, 10,000, and even a massive 50,000 view-only participants. It’s one of the platform’s best features, making it just as suitable for a small company training as it is for a global product launch. The key takeaway here is to check your license before you start promoting your event. This solves the potential problem of having more attendees than you have capacity for.
Can Attendees See Each Other During the Webinar?
Nope, and that’s by design. In a Zoom webinar, attendees can't see or hear each other. Their video and audio are turned off by default, and they can't even see the full attendee list. All they see are the host, co-hosts, and any panelists who are actively presenting.
This creates a clean, focused environment, much like a real-life auditorium. It keeps the audience’s attention where it should be: on your speakers and your content. If you're looking to solve the need for a more collaborative, face-to-face vibe where everyone can chime in, a Zoom Meeting is definitely the better tool for the job.
Here's a simple way to think about it: your panellists are on a virtual stage, and your attendees are in the audience. The audience can see the stage perfectly, but they can't see the other people sitting around them. It keeps things professional and distraction-free.
What's the Difference Between a Panelist and an Attendee?
Getting these two roles straight is crucial for a smooth-running Zoom video webinar. They have totally different permissions and functions.
A Panelist is basically a guest speaker. They get a special invitation link that grants them full privileges to use their audio and video, share their screen, and be seen by everyone. They're part of the main show and can even help answer questions in the Q&A box.
An Attendee is a viewer. Their job is to watch and listen. But that doesn't mean they're just passive! You can engage them using tools like the Q&A feature, polls, the "raise hand" button, and chat.
As the host, you hold the power to promote an attendee to a panelist mid-webinar. This is a great little trick for bringing someone from the audience "on stage" to ask their question live.
How Can I Make My Webinar Recording More Accessible?
Solving the problem of accessibility is a brilliant way to extend your webinar's life and reach a much wider audience. The two most important things you can add are captions and a full text transcript.
It’s a pretty straightforward process. Once your event is done, just download the MP4 recording from your Zoom account. To get the captions and transcript, you can upload the video to a platform like Youtube (you can set it to private or unlisted).
Then, an AI transcription tool like YoutubeToText can step in and do the heavy lifting, giving you two key assets:
- Caption Files (SRT/VTT): You can upload these files right back to your video player. They provide synchronized, on-screen text, which is a must-have for viewers who are deaf or hard of hearing, as well as for non-native speakers or anyone watching with the sound off.
- A Full Text Transcript: This is a complete, word-for-word document of your entire webinar. You can offer it as a downloadable PDF, turn it into a blog post, or use it to find key quotes. It makes your content searchable and accessible for people who prefer to read.
Following this simple workflow ensures that the valuable knowledge you shared is easy for everyone to access and understand, solving accessibility challenges with ease.
Ready to unlock the full potential of your webinar content? With YoutubeToText, you can instantly convert your Zoom recordings into accurate transcripts and captions. Stop letting valuable insights stay locked in video—turn them into searchable, shareable, and accessible content today. Start transcribing for free at https://youtubetotext.ai.